How to Turn Off the Lock Button on the Garage Door Opener?
Most modern garage door openers come equipped with a lock button that adds an extra layer of security by disabling remote control access. While this feature can be handy to prevent unauthorized entry, it can also be frustrating when you accidentally activate the lock and cannot use your remote. Fortunately, turning off the lock feature is a straightforward process.
In this detailed guide, we’ll walk you through the steps to disable the lock button on your garage door opener and offer additional insights to keep your system running smoothly.
Understanding the Lock Feature
The lock button or vacation lock is designed to temporarily block all remote control signals to your garage door opener. This is especially useful if you’re going away on vacation or want to prevent unauthorized use of your garage door opener. When the lock is engaged, the door will only respond to the wall-mounted button inside the garage, but the remotes and keypad outside will stop working.
The lock feature doesn’t completely disable the opener—it simply prevents any external devices like keypads or remotes from operating the door, which enhances security.
Step-by-Step Guide to Turning Off the Lock Button

Step 1: Locate the Wall-Mounted Control Panel
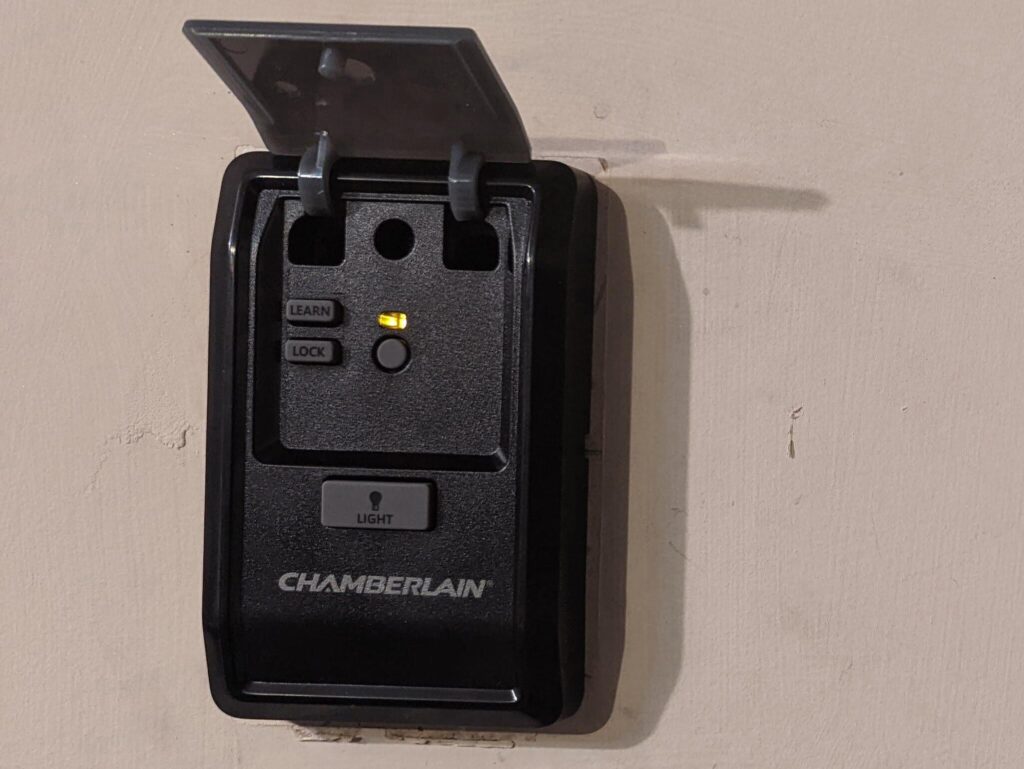
- Find the Control Panel: The wall-mounted control panel is typically located inside the garage, near the door leading into your home. Depending on the model, it will have a series of buttons and possibly an LCD screen.
- Identify the Lock Button: On the control panel, you’ll find a dedicated “lock” or “vacation lock” button. It may have a padlock icon or simply say “Lock.” The button’s location varies by manufacturer, so consult your opener’s manual if needed.
Step 2: Disable the Lock Feature
- Press and Hold: Hold the lock button for approximately 5 seconds. You should notice a change—an audible beep, a change in the control panel’s indicator lights, or a flashing signal turning off.
- Verify the Light: Many garage door openers have an indicator light that flashes continuously when the lock is engaged. Once the lock is disengaged, this light should stop flashing or turn off altogether.
Step 3: Test the Remote Controls
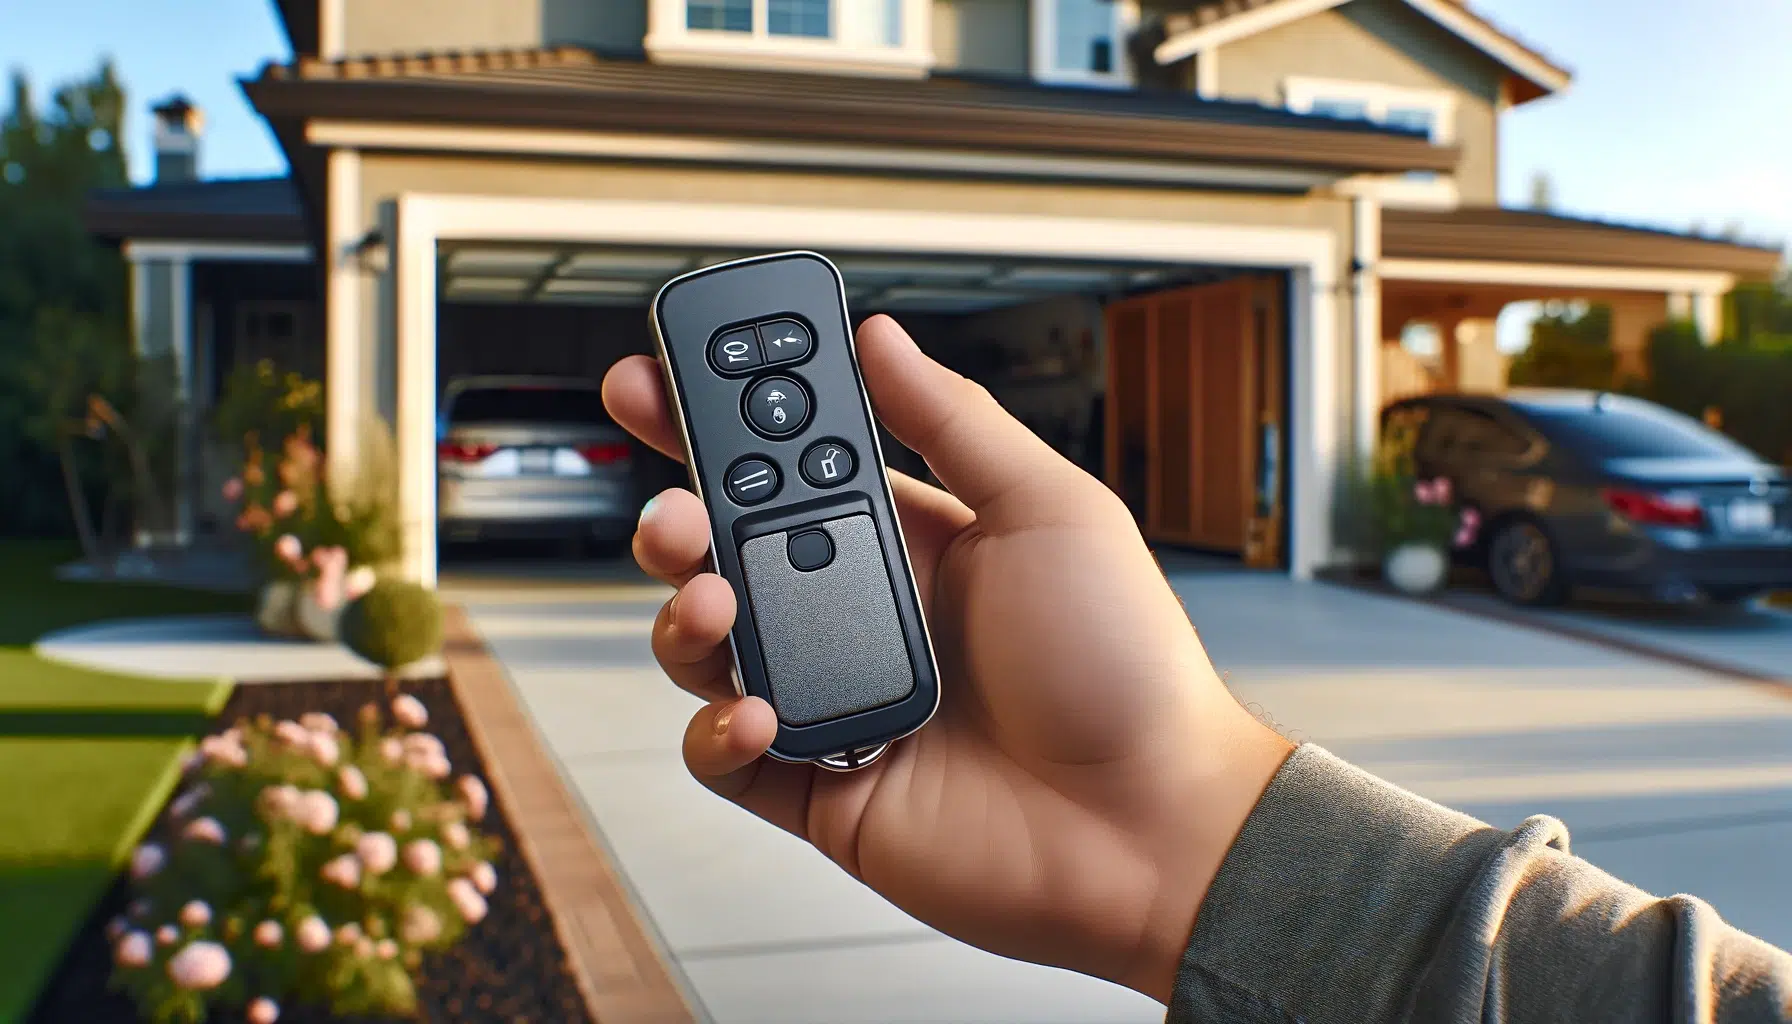
- Test the Remote: After turning off the lock, test your garage door remote control to ensure it is now functioning. Stand a reasonable distance from the garage door and press the button on your remote. The door should respond by opening or closing.
- Additional Remote Testing: If you have multiple remotes or keypads, test each one to ensure they all work. The lock feature affects all remote controls and keypads linked to the system, so all should now operate normally.
Step 4: Troubleshoot (If Necessary)
If your remote controls still aren’t working after disabling the lock feature, there are a few steps you can take:
- Check Remote Batteries: The most common reason for a non-responsive remote is a dead battery. Try replacing the batteries in the remote and test again.
- Reprogram the Remote: In rare cases, your remote may lose its connection to the opener. Refer to the user manual for steps to reprogram the remote to the garage door opener.
- Check for Signal Interference: Some electronic devices or Wi-Fi networks can interfere with your garage door opener’s signal. Make sure there are no strong electronic devices, like routers, near the opener or remote control.
- Examine the Control Panel: If the control panel light remains on or the lock button won’t disengage, there may be an issue with the panel or the wiring. In such cases, contact a garage door technician for further assistance.
Common Issues and Fixes
Even after following the steps above, you might encounter some challenges. Here are a few common problems and solutions:
- The Lock Light Won’t Turn Off: If the light stays on after you press and hold the lock button, try disconnecting the garage door opener from its power source for a few minutes. This can reset the system and may fix any temporary glitches.
- Remote Still Not Working: If the remote still doesn’t operate the door, ensure that the opener’s antenna is not damaged or obstructed. The antenna is usually a thin wire hanging from the motor unit.
- Partial Lock Issues: Some models allow partial lock features that block only certain remote devices or keypad functions. If you’re unsure of which lock mode is enabled, consult the owner’s manual for detailed instructions on how to adjust these settings.
Preventive Measures
To avoid future issues with the lock button or other features on your garage door opener, consider the following preventive steps:
- Regular Battery Checks: Periodically replace the batteries in your remote controls to ensure consistent operation. Weak batteries are one of the most common reasons for garage door malfunctions.
- Routine Maintenance: Regularly inspect your garage door opener system, including the control panel, the opener unit, and any remote controls or keypads. Keep the area around the opener free of dust and debris to prevent buildup that could affect performance.
- Check for Firmware Updates: Some newer garage door openers with smart features allow for firmware updates. If your opener is Wi-Fi-enabled, check the manufacturer’s website for software updates that can improve functionality and security.
- Secure the Control Panel: If you often accidentally activate the lock button, consider placing a protective cover over the control panel to prevent unintentional use, especially if you have children who might press the button without realizing its function.
Conclusion
The lock button feature on your garage door opener is a valuable tool for securing your home, but it can confuse if you’re unfamiliar with how to disengage it. Following this guide, you can quickly turn off the lock feature and return your garage door to regular operation. If issues persist, troubleshooting steps such as checking the remote batteries or reprogramming the remote should help resolve the problem.
Proper maintenance and informed knowledge of your garage door opener’s features will ensure it continues to function smoothly and securely. Always refer to your opener’s manual for model-specific instructions, and consider professional help if more complex issues arise.


