How to Reset a Garage Door Code?
Whether you’ve recently moved into a new home, lost your garage door opener, or just want to change your security settings for peace of mind, resetting the code for your garage door opener is an important step. This guide will walk you through resetting the garage door code for various garage door opener brands, covering the most common methods and troubleshooting tips.
Why Resetting Your Garage Door Code is Important
Resetting your garage door code helps ensure that only those you trust can access your garage and home. It’s particularly important if:
- You’ve recently moved into a new home.
- You’ve lost or misplaced your current opener remote.
- You suspect someone may have unauthorized access.
- You want to update the code for added security.
Step 1: Identify the Type of Garage Door Opener You Have
Before you begin the reset process, you need to determine what kind of garage door opener system you have. There are three common types:
- Keypad Entry (mounted outside the garage door).
- Wireless Remotes (handheld or clip-on devices).
- Smartphone Apps (if your system is connected to Wi-Fi).
Each type may have a different process for resetting the code. The most common opener brands include Chamberlain, LiftMaster, Genie, and Overhead Door, and each has its specific method for resetting.
Step 2: Resetting a Keypad Code (Traditional and Wireless Keypads)
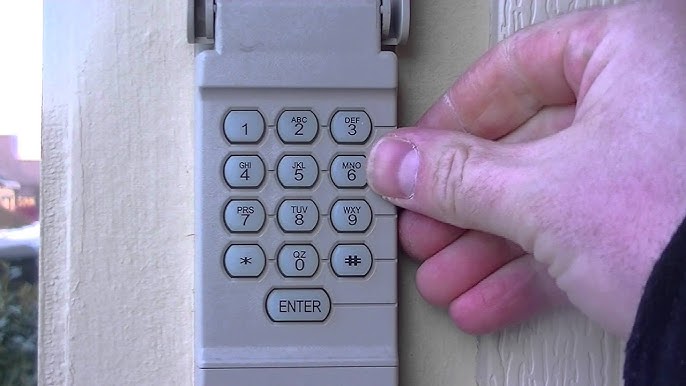
If you have a keypad mounted outside your garage door, you’ll typically find a 4- to 8-digit code that you can reset.
1. Locate the Reset Button:
- On most keypads, there’s a “Learn” button inside the garage door opener motor unit (usually located on the ceiling).
- The button is typically near the antenna and may be a small, colored square or round button.
2. Clear the Existing Code:
- Press and hold the “Learn” button for about 6 seconds or until the indicator light next to the button turns off. This clears all previously stored codes.
3. Set a New Code:
- On the keypad, enter a new 4- to 8-digit code (your choice). Ensure it is something memorable but secure.
- Press the Enter or # key to confirm.
4. Test the Code:
- After setting your new code, go outside and try entering the code on the keypad to make sure it works.
Step 3: Resetting the Garage Door Opener Remote

If you want to change the code for a garage door opener’s remote control or hand-held device, you must access the opener’s control unit in the garage.
1. Find the Learn Button:
- Most openers have a “Learn” button on the motor unit, located on the ceiling or wall-mounted. This button may be labeled as “Learn,” “Program,” or “Set” and is typically located near the antenna wire.
2. Press the Learn Button:
- Press and hold the Learn button for about 6 seconds. The indicator light next to the button should light up. This indicates the system is in programming mode.
3. Press the Button on the Remote:
- Within 30 seconds of pressing the Learn button, press the button on the remote you want to pair with the opener. Once the code is successfully learned, the indicator light on the opener will blink or turn off.
4. Test the Remote:
- After programming the remote, test it by pressing the button to open the garage door.
Step 4: Resetting Smart Garage Door Openers (Wi-Fi-enabled)
The process can be a little more involved for smart garage door openers that work with apps, as it may require resetting the Wi-Fi connection and reconnecting the opener to your smartphone app.
1. Unlink from the App:
- Open the garage door opener’s app on your phone and navigate to the settings menu.
- Select the option to remove or unlink the garage door opener from your account or app.
2. Reset the Garage Door Opener:
- Find the reset button (this is often the same as the “Learn” button) on the opener unit and press it for 10-15 seconds. This will reset the device and erase any stored Wi-Fi settings.
3. Reconfigure the Opener:
- Follow the instructions in the app to reconnect your opener to Wi-Fi. This typically involves entering your home Wi-Fi credentials and selecting the opener from a list of available devices.
4. Test the System:
- Once your opener is connected to the Wi-Fi, test it via the app to ensure everything works correctly.
Step 5: Common Troubleshooting Tips
If you encounter issues when resetting the code, try these troubleshooting tips:
- Check the Power: Ensure the garage door opener is plugged in and the circuit breaker is not tripped.
- Reset More Than Once: Repeat the process if the system isn’t responding to the reset. Sometimes, you need to reset the code twice for it to take effect.
- New Batteries: Replace the batteries if the remote control isn’t working.
- Re-syncing Issues: If the remote or keypad won’t sync, clear the code again and follow the steps carefully to reprogram it.
- App Not Connecting: Ensure your Wi-Fi is working and the opener is within range of your router.
Step 6: Additional Security Tips
After resetting your garage door code, it’s important to implement some additional security measures:
- Use Strong, Unique Codes: Avoid common combinations (e.g., 1234 or 0000) and opt for something harder to guess.
- Change Codes Regularly: Periodically update your code for added security, especially if you’ve shared it with guests or service providers.
- Enable Two-Factor Authentication (for smart openers): If your opener has a smartphone app, enable two-factor authentication for extra security.
Conclusion
Resetting the code on your garage door opener is a simple but essential step in maintaining your home’s security. Whether you have a traditional keypad, a remote control, or a smart system, following the correct procedure will ensure you can easily control access to your garage. To keep your home safe, regularly update your codes and follow best security practices.


