How to Replace the Bottom Roller on the Garage Door?
The bottom roller on a garage door plays a crucial role in the door’s smooth operation. Located at the lowest point of the door track, these rollers bear the brunt of the door’s weight and are subject to the most wear and tear. Over time, this can cause the rollers to become noisy, inefficient, or even break, affecting the door’s performance and potentially posing a safety risk. This article will guide you through replacing the bottom roller, but it’s important to note that working with garage doors can be dangerous. Hiring a professional for this task is strongly recommended, especially if you lack experience.
Understanding the Importance of the Bottom Roller
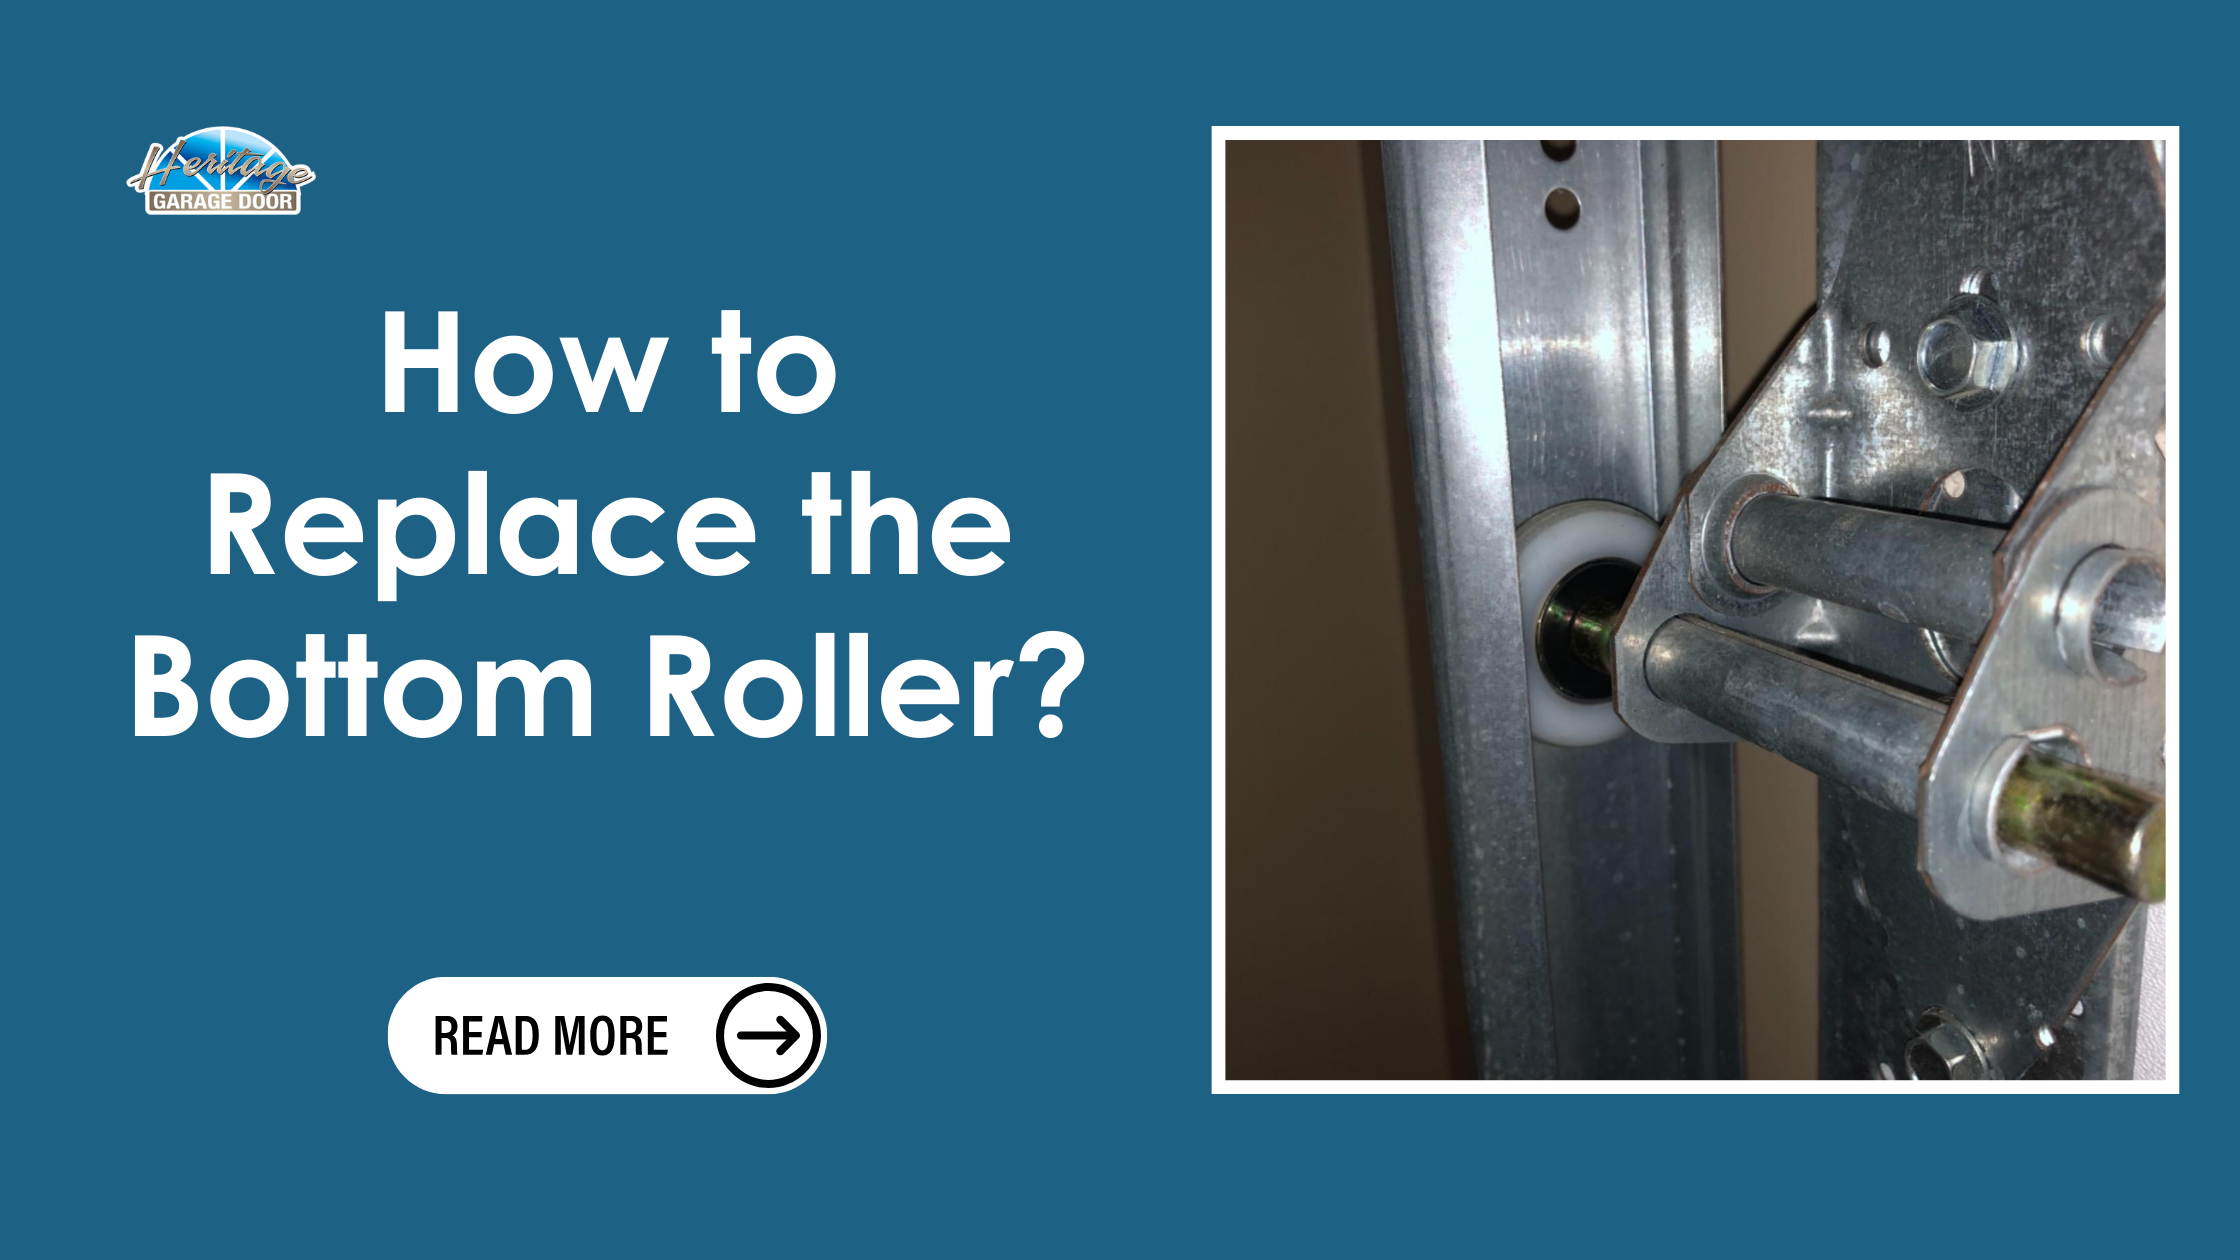
The bottom rollers are part of the hardware that keeps your garage door aligned, moving smoothly along the tracks. If a bottom roller becomes damaged or worn out, it can lead to a range of problems, such as:
- Increased noise during door operation
- Uneven door movement
- Difficulty in opening and closing
- Potential damage to other components
Since the bottom roller is connected to the door’s bottom bracket, which is under tension from the garage door springs, replacing it can be hazardous if not done correctly. This tension makes lifting the door easier, but it also means that any mishandling could cause serious injury.
Tools and Materials Needed
- Wrenches or socket set
- Pliers
- Garage door lubricant
- Safety glasses and gloves
- Replacement roller (ensure it matches the original size and type)
Step-by-Step Instructions
Step 1: Disconnect the Garage Door Opener
Before starting any work, disconnect the automatic garage door opener. This ensures the door won’t move unexpectedly while you’re working on it.
Step 2: Secure the Door in Place
Place vice grips or C-clamps on the tracks just above one of the middle rollers to prevent the door from moving. This is a critical safety step, as it keeps the door stable while you work on the bottom roller.
Step 3: Release the Bottom Roller Bracket (If Attempting DIY)
If you are experienced and confident in handling this, proceed carefully. Remember that the bottom roller bracket is attached to the cable system, which is under high tension.
Loosen the bolts securing the bottom bracket, but do not remove them altogether. This allows the bracket to be moved without causing sudden tension release.
Step 4: Remove the Old Roller
Once the bracket is loosened, you can tilt it slightly to slide out the old roller. If necessary, use pliers to free the roller from the bracket.
Step 5: Insert the New Roller
Place the new roller in the bracket and ensure it fits snugly in the track. Rollers come in various sizes (steel or nylon), so ensure your replacement matches the original.
Step 6: Reattach the Bottom Bracket
Tighten the bolts on the bottom bracket, ensuring the roller is properly aligned in the track. Double-check that all bolts are secure and the roller moves smoothly along the track.
Step 7: Test the Door
Remove the vice grips or C-clamps from the track and reconnect the garage door opener. Operate the door a few times to ensure the new roller functions correctly and smoothly.
Why Hiring a Professional Is Recommended

While the step-by-step guide above provides an overview, replacing the bottom roller can be extremely dangerous. Because the roller is attached to the door’s bottom bracket, which is under high tension from the springs, mishandling can cause serious injuries. Professionals have the experience and tools to perform this replacement safely, making it a far safer option.
When to Call a Professional:
- If your garage door uses torsion springs (as most do)
- If the bottom bracket appears damaged or unstable
- If you’re unsure of your ability to handle high-tension components safely
Final Thoughts
Replacing a bottom roller on a garage door might seem simple, but the risks associated with the door’s tension system make it a job best left to professionals. Consider contacting a garage door repair service if your bottom roller is worn out or broken. Not only will they be able to perform the repair safely and efficiently, but they can also ensure your entire door system is functioning optimally.
Maintaining the heritage and integrity of your garage door requires a keen eye for detail and an appreciation of its history. Whether it’s for a modern home or a more traditional setup, regular maintenance, and professional care are vital to ensuring its longevity and performance.
Frequently Asked Questions (FAQs)
1. Why is replacing the bottom roller on a garage door dangerous?
Replacing the bottom roller is dangerous because it is connected to the bottom bracket under high tension from the garage door springs. Mishandling this bracket can cause a sudden release of tension, leading to severe injuries. This is why hiring a professional for this type of repair is strongly recommended.
2. Can I use any roller as a replacement?
No, it would be best if you always used a roller that matches the specifications of your existing garage door system. Rollers come in different materials (steel, nylon) and sizes, and using the

wrong type can lead to poor performance or damage to the door. Consult your garage door’s manufacturer or a professional to ensure you have the correct replacement.
3. How often should garage door rollers be replaced?
Garage door rollers typically last between 5 to 7 years, depending on usage and material. Nylon rollers may last longer and operate quietly, while steel rollers are durable but can become noisier over time. Regular maintenance and lubrication can help extend the life of your rollers. If you notice increased noise or uneven door movement, it’s time to inspect and possibly replace the rollers.


