How To Replace Garage Door Springs?
How to replace garage door springs is a crucial maintenance task that ensures the smooth operation and longevity of your garage door system. However, it’s a job that demands a high level of caution due to the potential risks involved. Garage door springs are under significant tension, and improper handling can lead to severe injuries or damage to your property.
This comprehensive guide will walk you through the detailed steps required to replace both torsion and extension springs safely and effectively. Whether you’re a DIY enthusiast looking to tackle this project yourself or want to understand the process before hiring a professional, this guide will provide you with all the necessary information.
Tools and Materials Needed
Before starting, gather the following tools and materials:
- Safety glasses and gloves
- C-clamps or locking pliers
- Adjustable wrench
- Winding bars (for torsion springs)
- Tape measure
- Marker or chalk
- New garage door springs (ensure they match the specifications of your old springs)
- Ladder
- Socket wrench set
Safety Precautions
- Disconnect the Power: Unplug the garage door opener to prevent accidental activation.
- Secure the Door: Use C-clamps or locking pliers to lock the door. Position the clamps below the bottom rollers on both tracks to prevent the door from moving.
Identifying Your Spring Type
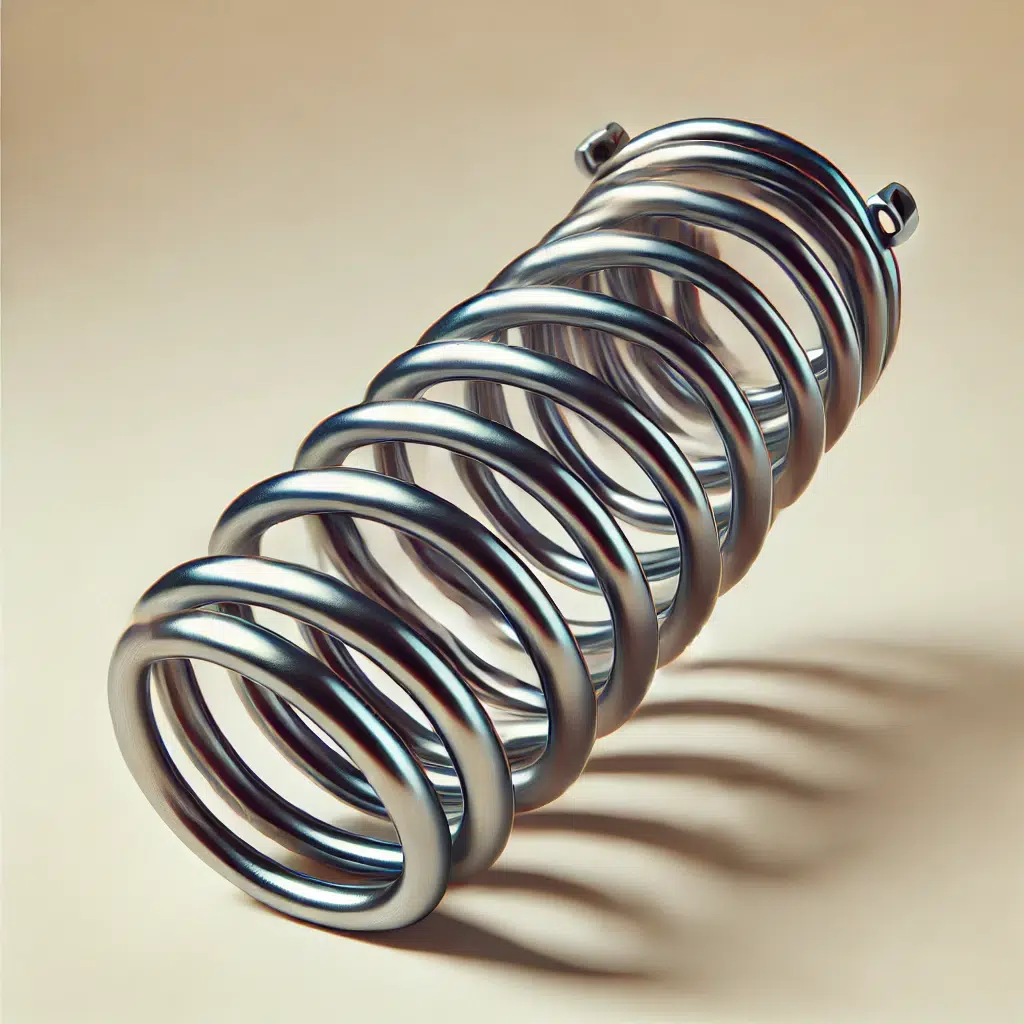
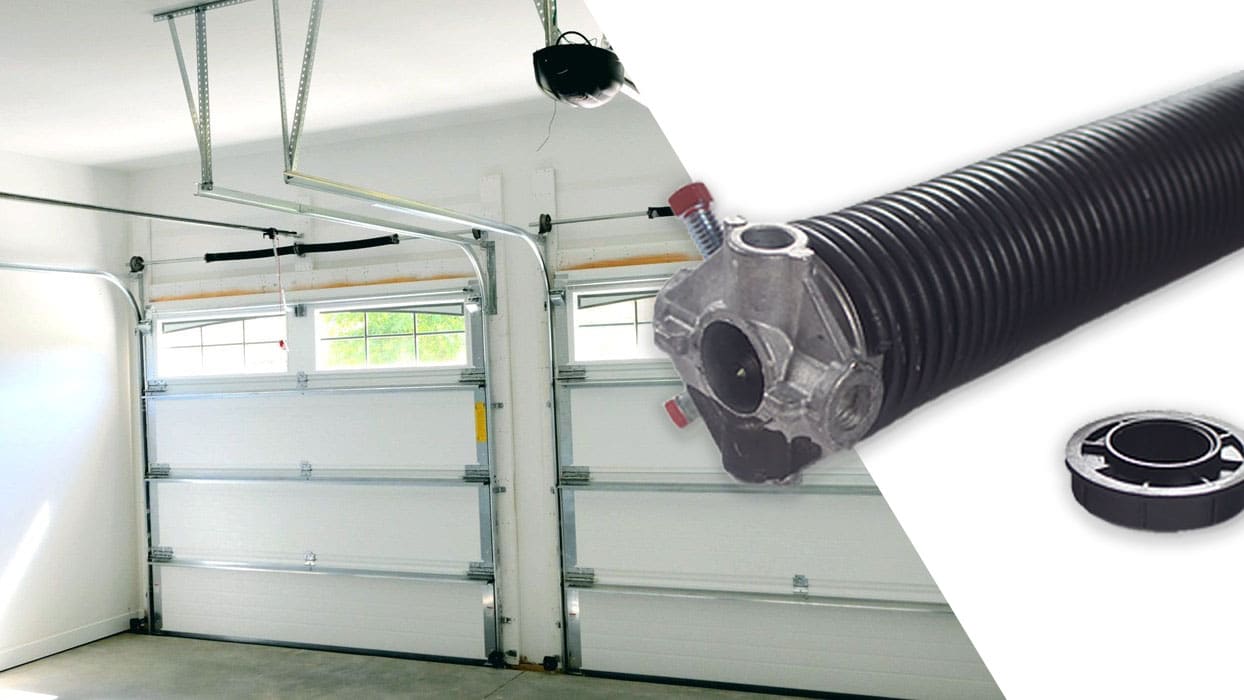
There are two main types of garage door springs: torsion springs and extension springs. Torsion springs are mounted above the door on a metal shaft, while extension springs run along the tracks on either side of the door.
Steps to Replace Torsion Springs

1. Release the Tension
- Insert a winding bar into one of the winding cone holes on the spring.
- Hold the bar securely and loosen the set screws on the winding cone with an adjustable wrench.
- Carefully allow the spring to unwind, controlling the tension with the winding bars.
2. Remove the Old Springs
- Once the tension is fully released, remove the bolts that secure the torsion springs to the central bracket.
- Slide the springs toward the end of the shaft and remove them.
3. Install the New Springs
- Slide the new torsion springs onto the shaft.
- Secure the center of the springs to the central bracket with the bolts.
4. Wind the New Springs
- Insert the winding bar into the winding cone and begin winding the spring. Follow the manufacturer’s instructions for the number of turns required.
- Once wound, tighten the set screws to secure the winding cone.
5. Test the Door
- Remove the C-clamps or locking pliers.
- Reconnect the garage door opener and test it to ensure it opens and closes smoothly.
Steps to Replace Extension Springs
1. Release the Tension
- Open the garage door fully to relieve the tension in the springs.
- Secure the door in place using C-clamps or locking pliers.
2. Remove the Old Springs
- Disconnect the safety cable from the spring.
- Remove the old springs from the brackets.
3. Install the New Springs
- Attach the new extension springs to the brackets.
- Reconnect the safety cable through the spring.
4. Test the Door
- Remove the C-clamps or locking pliers.
- Test the door manually to ensure it operates smoothly.
Final Checks
- Balance the Door: Ensure the door remains in place when opened halfway. If it moves up or down, adjust the spring tension accordingly.
- Lubricate the Springs: Apply a garage door lubricant to the springs to reduce friction and extend their lifespan.
Conclusion
Replacing garage door springs is not just about fixing a mechanical issue; it’s about maintaining the safety and functionality of a crucial part of your home. Properly functioning springs ensure your garage door operates smoothly, reducing wear on the opener and other components. While the task can be approached by a confident DIYer, the potential dangers mean that professional help is often the safest route.
If you decide to undertake this task, following the steps outlined in this guide will help ensure a safe and effective spring replacement. Always prioritize safety, and don’t hesitate to consult or hire a professional if unsure about any step in the process.
Frequently Asked Questions (FAQs)
Q: How do I know if my garage door springs need to be replaced?
A: Common signs include the door not opening or closing correctly, visible spring gaps, and excessive noise during operation. The springs are likely worn out if your door feels heavy or unbalanced.
Q: Can I replace just one spring, or must I replace both?
A: It’s generally recommended that both springs be replaced simultaneously. Even if only one spring appears broken, the other is likely to be worn and may fail soon after. Replacing both ensures balanced tension and optimal operation.
Q: How long do garage door springs typically last?
A: The lifespan of garage door springs varies based on usage, but typically, they last about 7-10 years or approximately 10,000 cycles (one cycle is fully open and close).
Q: What are the dangers of replacing garage door springs myself?
A: Garage door springs are under high tension, and improper handling can lead to severe injury or damage. Tools can slip, and springs can snap back forcefully, so following safety guidelines and using the correct tools is crucial.
Q: Should I lubricate my garage door springs regularly?
A: Yes, regular lubrication can help extend the lifespan of your springs by reducing friction. Use a garage door lubricant to the springs, hinges, and rollers at least twice a year.
Q: What if I don’t have winding bars for torsion springs?
A: Do not attempt to use substitutes like screwdrivers or other tools, as they may not fit properly and can slip, causing injury. Always use the correct winding bars for the job.
Q: Can I still open my garage door if a spring is broken?
A: It’s not advisable to open the garage door with a broken spring, as it can cause additional strain on the opener and other components. If necessary, open it manually with caution and seek professional repair promptly.
By understanding the process and taking appropriate precautions, you can confidently learn how to replace garage door springs. Remember, safety first, and when in doubt, consult a professional.


