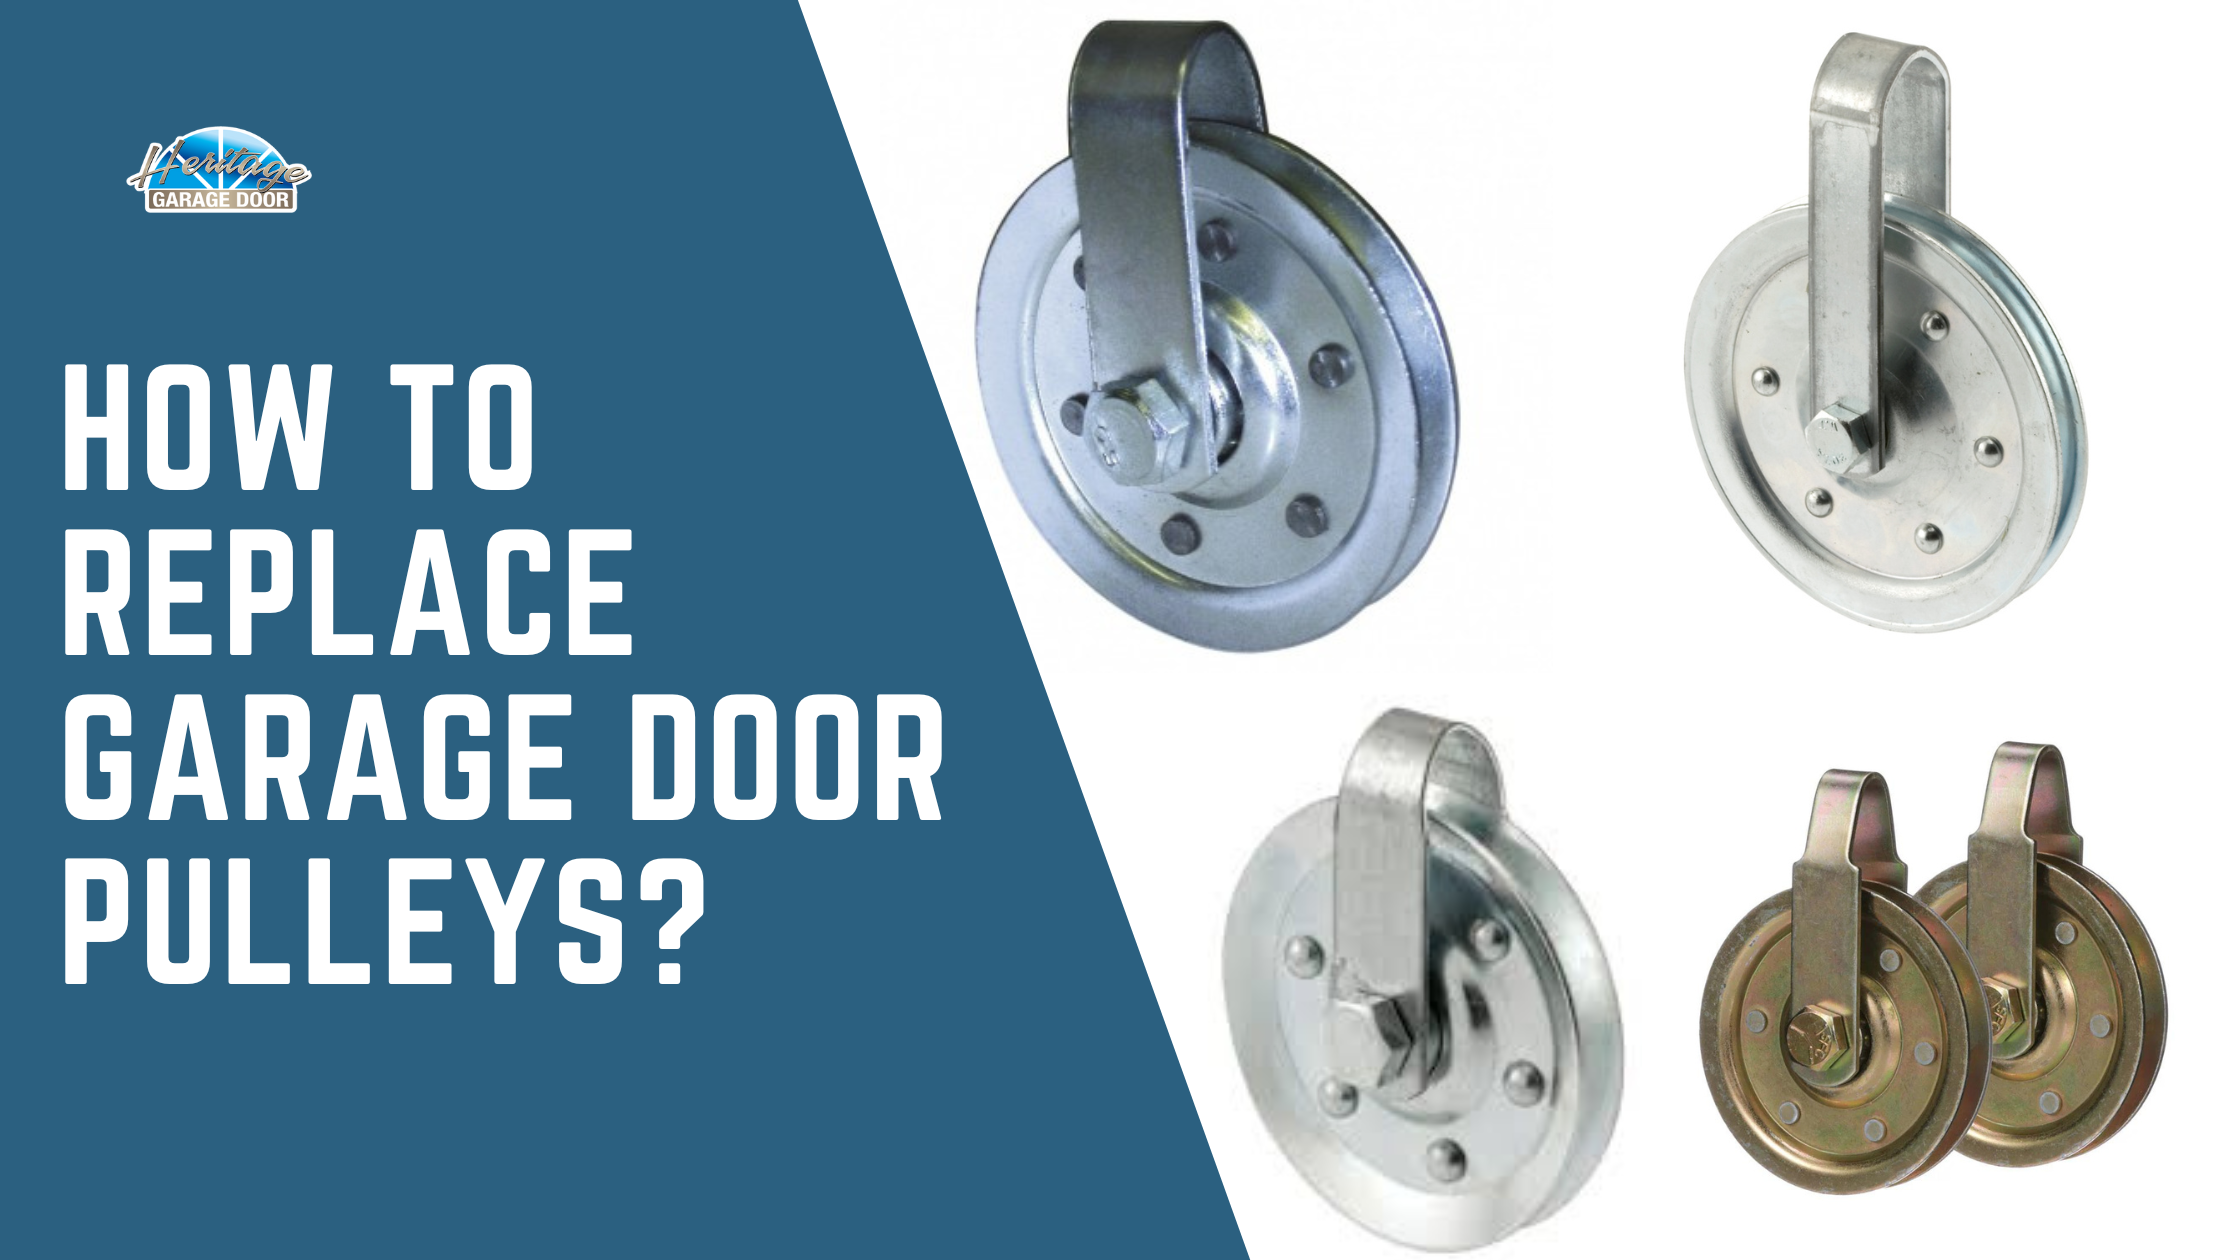
How to Replace Garage Door Pulleys?
Replacing garage door pulleys is an important aspect of garage door maintenance. These pulleys help lift and lower the door smoothly, and over time, they can wear out or break, causing operational issues. Addressing these problems early can prevent more costly repairs. This guide will walk you through the process step by step, ensuring a safe and effective pulley replacement.
Why Garage Door Pulleys Matter

Garage door pulleys are integral to your garage door’s mechanism, particularly in systems that use extension springs. These pulleys bear the door’s weight as it moves, so when they wear out, they can make the door difficult to open or close and may lead to excessive strain on other components like the springs, cables, and tracks. Replacing the pulleys in time ensures your garage door operates safely and efficiently.
Tools and Materials You Will Need
Before starting, gather all necessary tools and materials:
- Replacement pulleys (make sure they match your garage door model)
- Adjustable wrench or socket wrench set
- Locking pliers (Vice grips)
- Ladder
- C-clamps (optional for added safety)
- Safety glasses
- Work gloves
- Lubricant (for the pulleys and other moving parts)
- Screwdriver set
- Replacement cables (if needed)
Step 1: Safety First – Disconnect the Power and Release the Tension
Garage doors are heavy, and the springs are under significant tension. It’s crucial to follow proper safety protocols.
- Disconnect the power: Unplug the garage door opener to avoid accidental operation during the repair process.
- Release tension in the springs:
- For extension spring systems, raise the garage door to its fully open position. Then, use locking pliers or C-clamps to secure the door in place by clamping them on the track just below the door. This will prevent the door from accidentally falling while you’re working.
- For torsion springs, the process is more dangerous and complex, as these springs hold significant tension even when the door is open. Hiring a professional is highly recommended unless you’re experienced with torsion springs.
Step 2: Identify the Type of Pulley System
Understanding your pulley system is crucial for a successful replacement. There are two main types of pulleys:
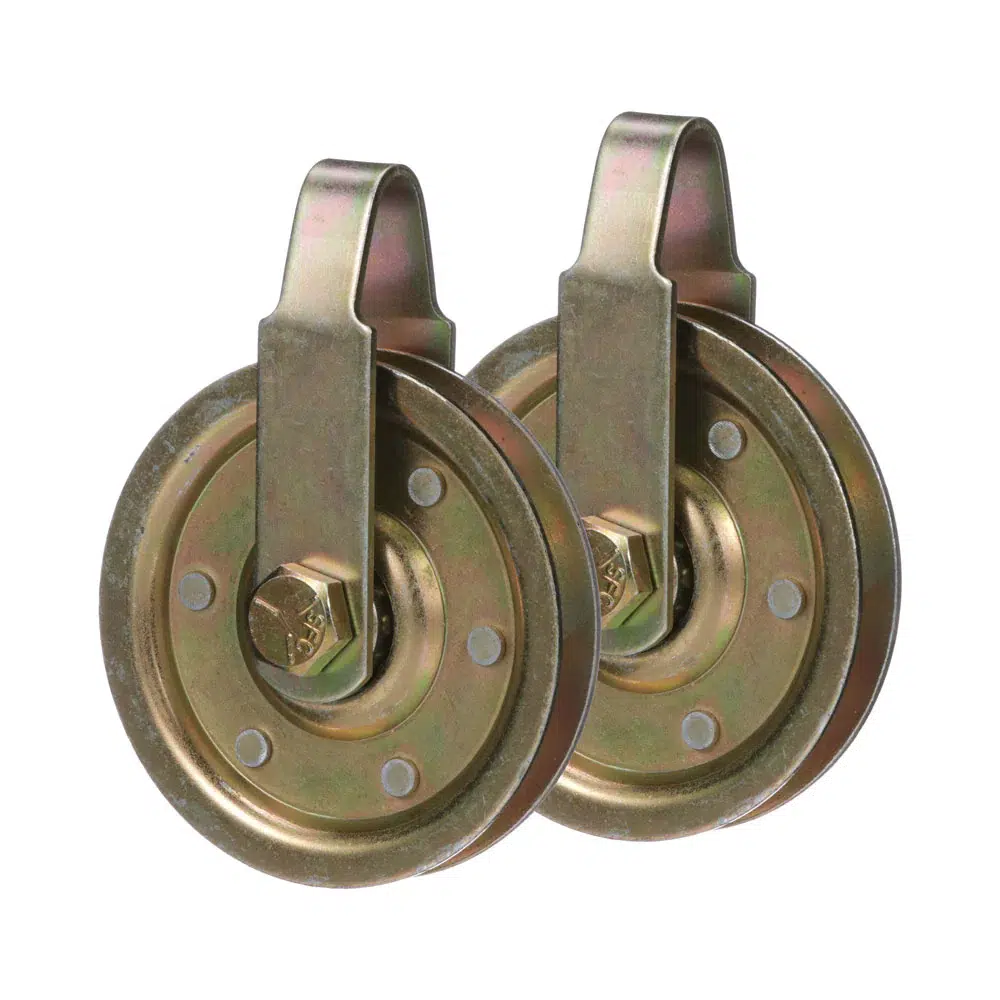
- Stationary Pulleys: These are mounted directly to the garage ceiling or wall and do not move as the door operates.
- Movable Pulleys: These are part of the garage door’s extension spring system and move with the door as it opens and closes.
Most doors with extension springs have one stationary pulley and one movable pulley on each side of the door. Inspect both sets to see which ones need replacing.
Step 3: Remove the Old Pulley
Once you’ve secured the garage door and released the tension, it’s time to remove the damaged or worn pulleys.
- For Movable Pulleys:
- Start by disconnecting the cable that runs over the pulley.
- Use your wrench or socket set to loosen the bolt or pin securing the pulley to its bracket.
- Carefully slide the pulley off the bracket, noting how the system is assembled so you can easily install the new pulley in the correct orientation.
- For Stationary Pulleys:
- Using a wrench or screwdriver, remove the bolts holding the stationary pulley to its bracket.
- Be careful, as the cables may still hold some tension. Slowly remove the pulley and release the cable.
Step 4: Inspect Cables, Brackets, and Springs
With the old pulley removed, take this opportunity to inspect the garage door’s cables and springs for any signs of wear or damage. Look for frayed cables, rust, or cracks in the brackets. If any components are damaged, it’s advisable to replace them while you’re working on the system. Worn cables can lead to pulley failure, so addressing these issues now can prevent future malfunctions.
Step 5: Install the New Pulley
Installing the new pulley is straightforward, but precision is key.
- For Movable Pulleys:
- Slide the new pulley onto the bracket and secure it with the bolt or pin.
- Ensure the pulley is correctly aligned, as misalignment can cause friction and uneven movement.
- Reconnect the cable, ensuring it sits properly in the pulley’s groove and moves smoothly when pulled.
- For Stationary Pulleys:
- Attach the new pulley to the bracket and tighten the bolts securely.
- Feed the cable over the new pulley, ensuring it’s properly seated in the groove and the tension is even.
Step 6: Reapply the Spring Tension
Now that the new pulleys are installed, it’s time to reapply tension to the garage door springs.
- Extension Springs: Carefully remove the locking pliers or C-clamps from the track, allowing the door to bear its weight again. The springs should take on the tension automatically, and the door should remain in place without slipping or falling.
- Torsion Springs: Follow the manufacturer’s re-tension instructions or contact a professional technician. If done improperly, this is a potentially dangerous step, as torsion springs are under extreme pressure.
Step 7: Test the Garage Door
It’s time to test the garage door’s operation with everything securely in place.
- Manually lower the door to check that it moves smoothly and evenly.
- Reconnect the garage door opener and test its functionality using the remote control or wall switch.
- Listen for any unusual noises and watch for any jerking or unbalanced movements. The door should open and close smoothly without resistance.
Step 8: Lubricate and Perform Final Checks
To prevent future pulley wear and extend the life of your garage door components:
- Apply a high-quality lubricant to the pulleys, hinges, springs, and tracks to ensure smooth operation.
- Perform a final visual inspection to make sure all components are secure and functioning properly.
- Periodically check the pulleys and other garage door parts to catch any early signs of wear.
Common Mistakes to Avoid
- Skipping the Safety Step: Always disconnect the power and release spring tension before working on the door.
- Using Incorrect Pulleys: Ensure that the replacement pulleys are compatible with your garage door system.
- Not Replacing Damaged Cables: Replacing only the pulleys without addressing worn cables can lead to more problems down the line.
FAQs
Q: How can I tell if my pulleys are worn out?
A: Signs of worn pulleys include grinding noises, jerky door movement, or visible wear on the pulleys and cables. Inspect the pulleys for damage if the door doesn’t open and close smoothly.
Q: Can I replace just one pulley, or should I replace them all?
A: While it’s possible to replace just one pulley, replacing both pulleys on the same side (movable and stationary) is generally recommended to ensure even wear and consistent operation. If one pulley has failed, the other is likely nearing the end of its lifespan as well.
Q: Is replacing garage door pulleys dangerous?
A: Replacing pulleys on extension spring systems can be done safely if you follow the correct steps and release the tension properly. However, due to the high tension in torsion spring systems, it’s best to call a professional.
Q: How often should I replace garage door pulleys?
A: Pulleys typically last between 5 and 10 years, depending on usage and maintenance. Regularly lubricating the pulleys and inspecting for wear will help prolong their lifespan.
Conclusion
Replacing garage door pulleys is essential to maintaining a functional and safe garage door system. If you have an extension spring system, you can handle the task yourself by following these steps. For torsion springs, however, seeking professional assistance is recommended. Regular maintenance, including pulley replacement and lubrication, will keep your garage door operating smoothly for years.


