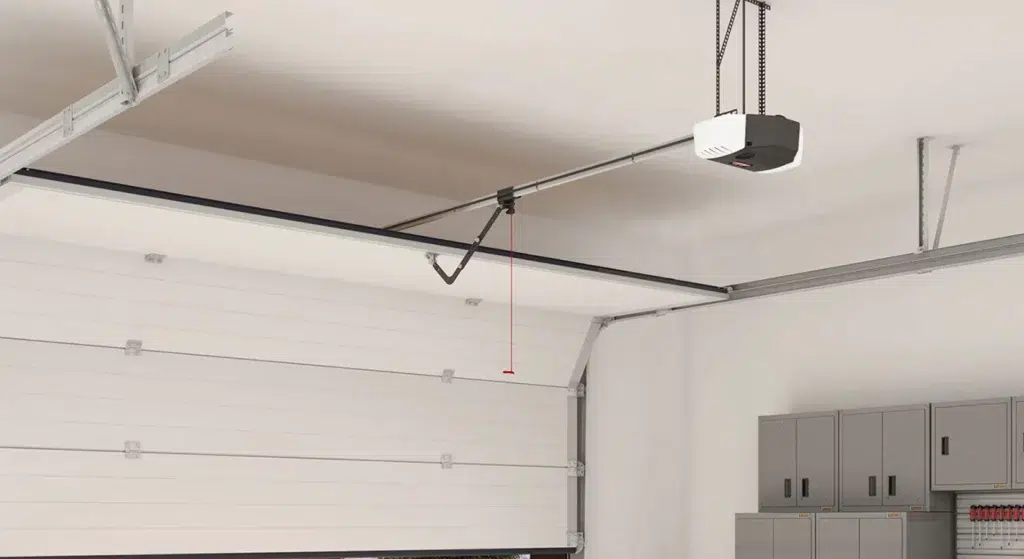
How to Install a Garage Door Opener?
Garage door openers are an important part of our daily routines. They quietly ensure our comfort and safety. They come in traditional chain drive models to sleek, modern belt models. These units have evolved to provide efficiency and easy access to their homes.
Installing a garage door opener can seem daunting. However, with the right instructions, it’s a manageable task. In addition, proper maintenance of your opener can greatly extend its life. It can save you from premature replacements and ensure uninterrupted operation.
Extending the Life of Your Garage Door Opener

Before diving into the installation process, it’s important to understand how you can extend the life of your opener.
- Regular maintenance: Regularly inspect the opener and its components such as the motor, chains, and rollers. Lubricate moving parts to prevent wear.
- Balance the door:– An unbalanced garage door can strain the opener. Make sure the door is properly balanced. Do this by removing the opener and manually testing its movement.
- Safety First: Keep safety features like sensors. Clean them regularly. Make sure they are properly aligned to keep them running smoothly.
- Professional Inspections – Schedule regular inspections by a professional to catch potential problems before they get worse.
Step-by-Step Installation Guide
- Step 1: Gather the tools: Gather the necessary tools. Refer to the instructions for the garage opener and the manual. These usually include a power drill, wrenches, and screwdrivers.
- Step 2: Read the user manual: Read the manufacturer’s instructions carefully. Each model may have specific requirements.
- Step 3: Prepare the opener: Assemble the opener according to the manual and instructions. Make sure all parts are connected correctly.
- Step 4: Placement and Installation: Carefully place the opener on the roof of your garage. Always make sure it is centered and securely fastened. Follow the exact measurements and instructions in the user manual.
- Step 5: Attach the rails and trolley: Install the rails along the roof of the garage and attach the trolley to the opener. Make sure the chain or belt is set correctly.
- Step 6: Connect the wires: Follow the wiring instructions carefully when connecting the opener’s power supply and accessories.
- Step 7: Test and adjustment: After installation, perform a test run to ensure smooth operation. Adjust settings and paragraphs as needed.
Factors such as horsepower, noise level, and features such as Wi-Fi and battery backup should be considered when choosing the best garage door opener. Brands such as Chamberlain, LiftMaster, and Genie are known in the industry for their reliability and innovation.
In conclusion, installing a garage door opener is a task that requires attention to detail. Although it is certainly doable. Regular maintenance and proper installation will only ensure its longevity. It will also help keep your garage door running smoothly. Moreover, it will provide the comfort and safety you rely on every day.


