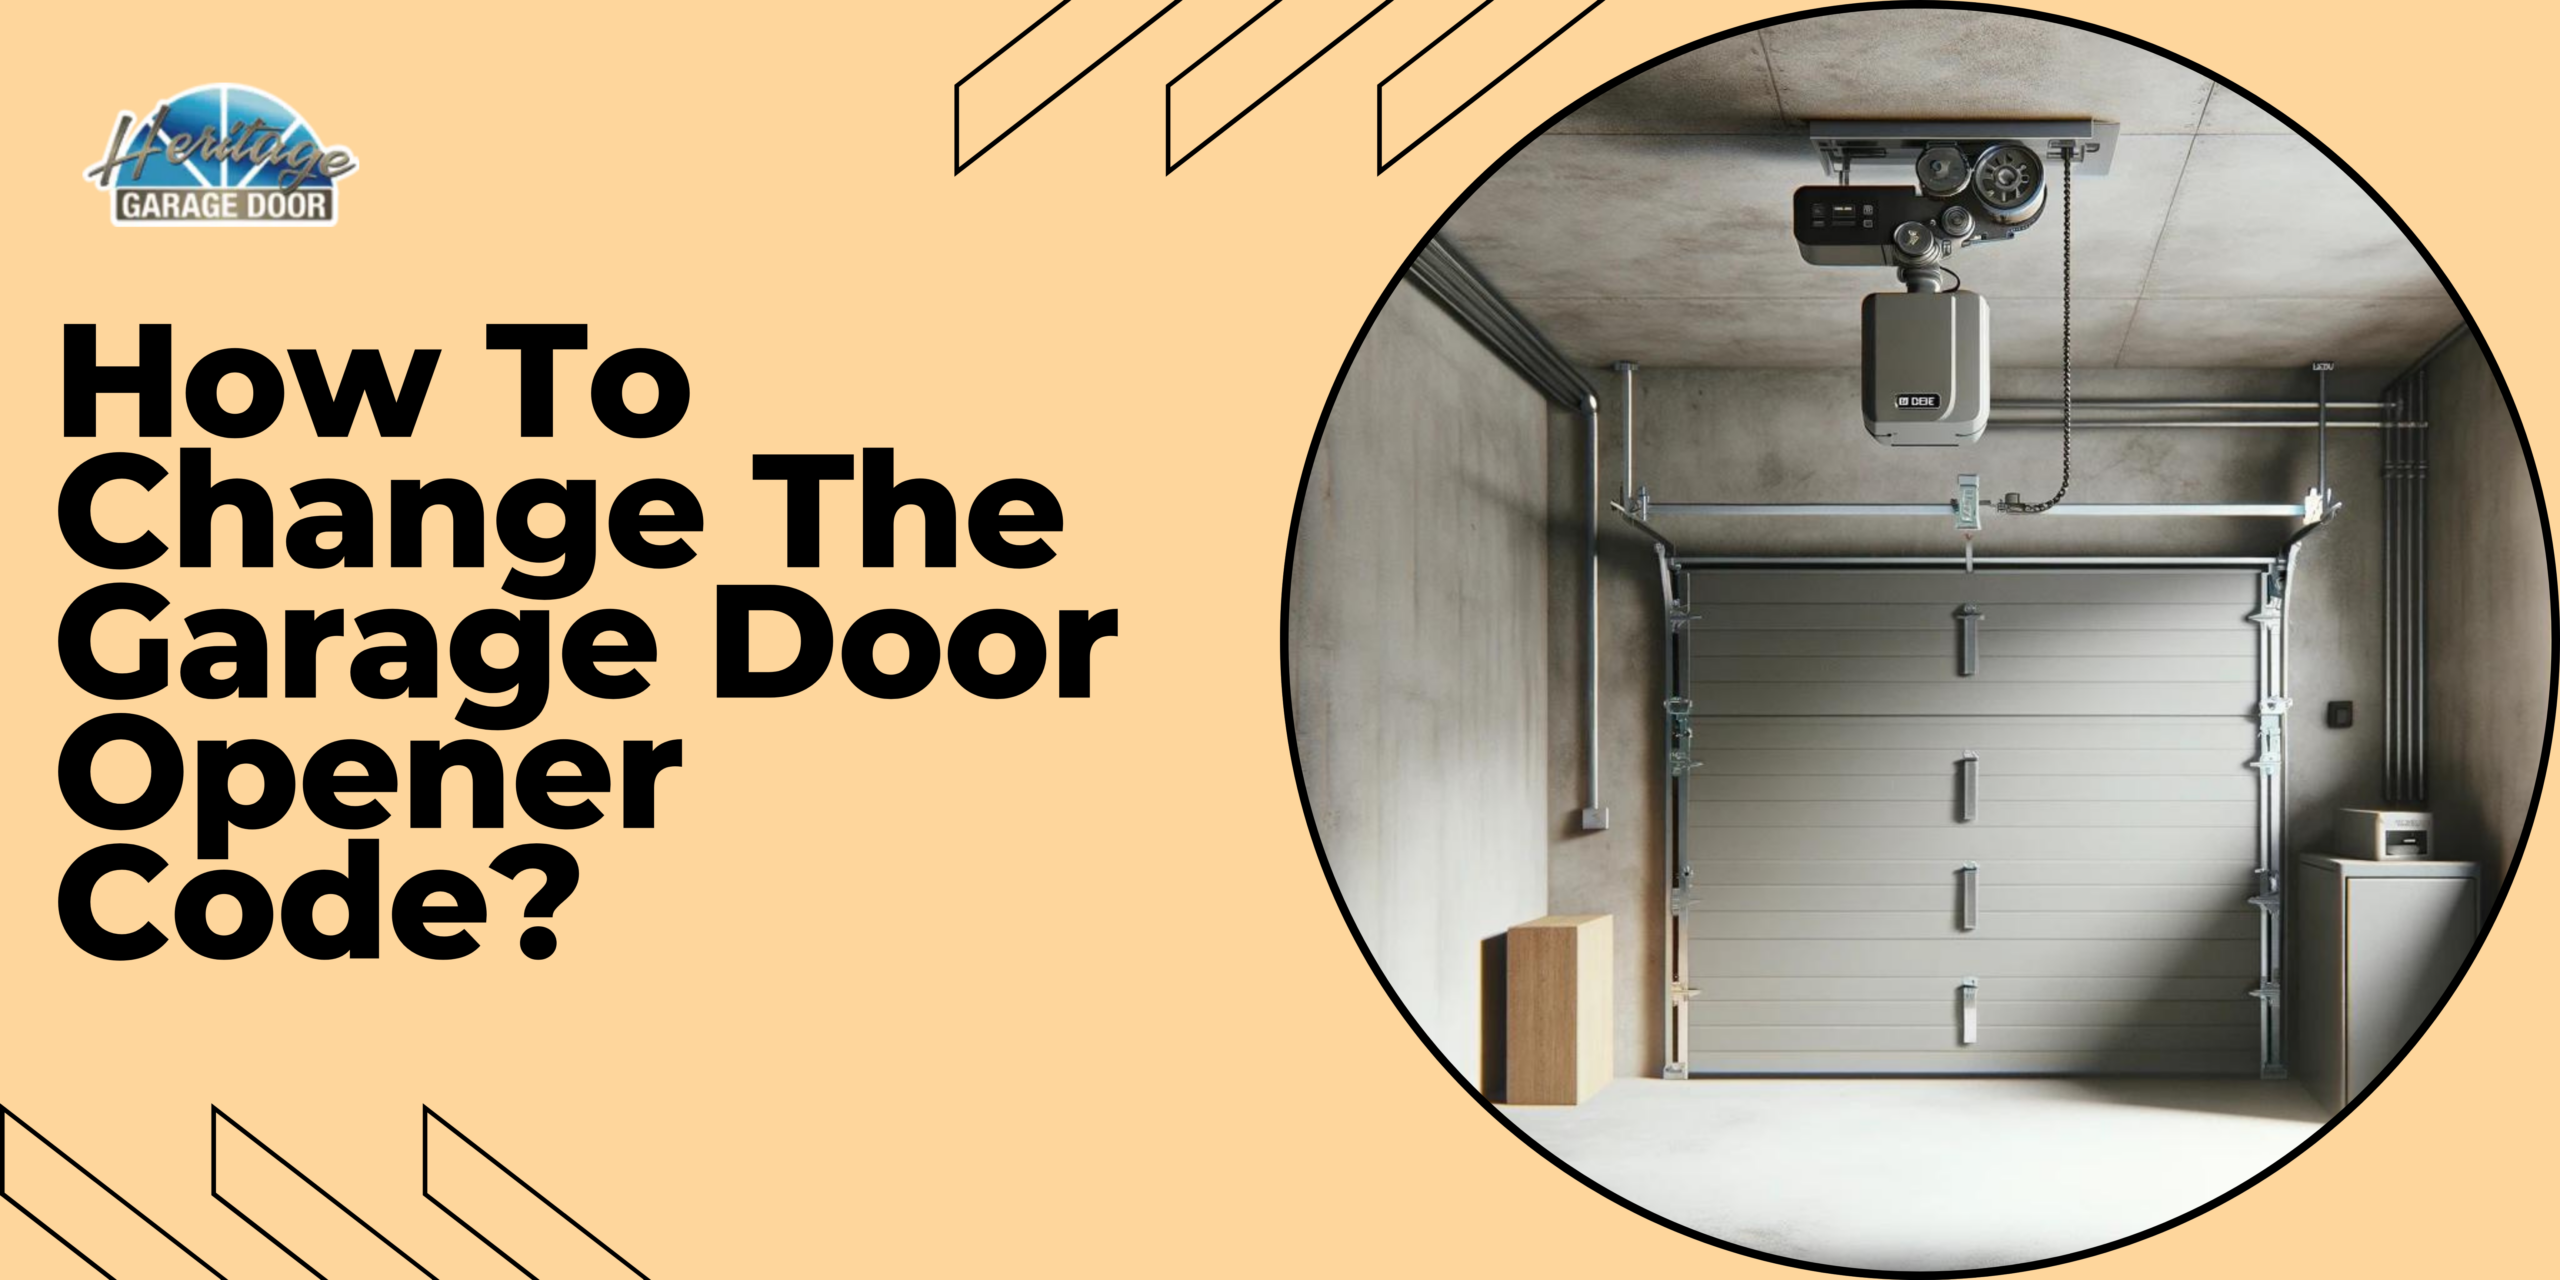
How To Change The Garage Door Opener Code?
Changing the code on your garage door opener is not only a straightforward task but also a vital step toward enhancing the security of your home. With the ever-increasing need for home security, regularly updating your garage door opener code becomes an essential practice. This is particularly important if the code has been shared with multiple people over time or if there’s a chance it could have been compromised. The process of changing the code is generally simple and can often be done without the need for professional assistance. However, understanding when the complexity of the task necessitates calling in a professional is crucial.
This guide aims to walk you through the process of changing your garage door opener code, step by step, ensuring you can confidently secure your garage. Additionally, we’ll highlight scenarios where hiring a professional might be the best course of action, ensuring your garage door’s optimal functionality and security.
Step 1: Locate the Learn Button
First, you need to locate the “Learn” button on your garage door opener. This button is usually found on the back of the unit attached to the ceiling of your garage. It might be necessary to remove a light cover or panel to access it. The button could be labeled as “Learn,” “Home,” or “Smart,” depending on the manufacturer.
Step 2: Reset the Code
Press and hold the “Learn” button for about 6 seconds until the LED light next to it goes out. This action clears the existing codes from the garage door opener’s memory. Be aware that this will remove all remote controls and keypads from the system, so you will need to reprogram them.
Step 3: Program a New Code
To set a new code, press the “Learn” button again until the LED light turns on. Then, within 30 seconds, enter your new code on the keypad located outside your garage. Press the “Enter” or “Start” button to save the new code. The LED light will blink, indicating that the new code has been successfully programmed.
Step 4: Test the New Code
Test the new code to ensure it works correctly. Enter the code on the keypad and wait for the garage door to respond. If the door opens or closes, the reprogramming is successful. If not, you may need to repeat the programming steps or troubleshoot for issues.
When to Hire a Professional
While changing the garage door opener code is generally a DIY task, there are situations where it’s best to hire a professional:
- Complex Systems: If you have a newer, more complex garage door system and are unsure about the programming process, a professional can ensure the task is done correctly without risking damage to the system.
- Technical Difficulties: If you encounter technical issues during the process, such as the garage door not responding to the new code or the “Learn” button not functioning as expected, it might indicate a more serious issue that requires expert diagnosis.
- Upgrades and Replacements: If your garage door opener is outdated or has been experiencing frequent issues, it might be time for an upgrade. A professional can recommend and install the latest models that offer enhanced security features and connectivity.
Conclusion
The process of changing your garage door opener code is a critical aspect of maintaining the security and functionality of your home’s entry points. By following the steps outlined in this guide, most homeowners can successfully update their garage door codes and contribute to the overall security of their homes. However, it’s important to recognize the signs that indicate when this task exceeds the realm of DIY and requires professional intervention. Whether it’s due to the complexity of your system, encountering technical difficulties, or the need for an upgrade, professional assistance ensures that your garage door operates smoothly and securely. Ultimately, regularly changing your garage door opener code and knowing when to seek professional help are key components of a comprehensive home security strategy.


