How to Replace Garage Door Hinges?
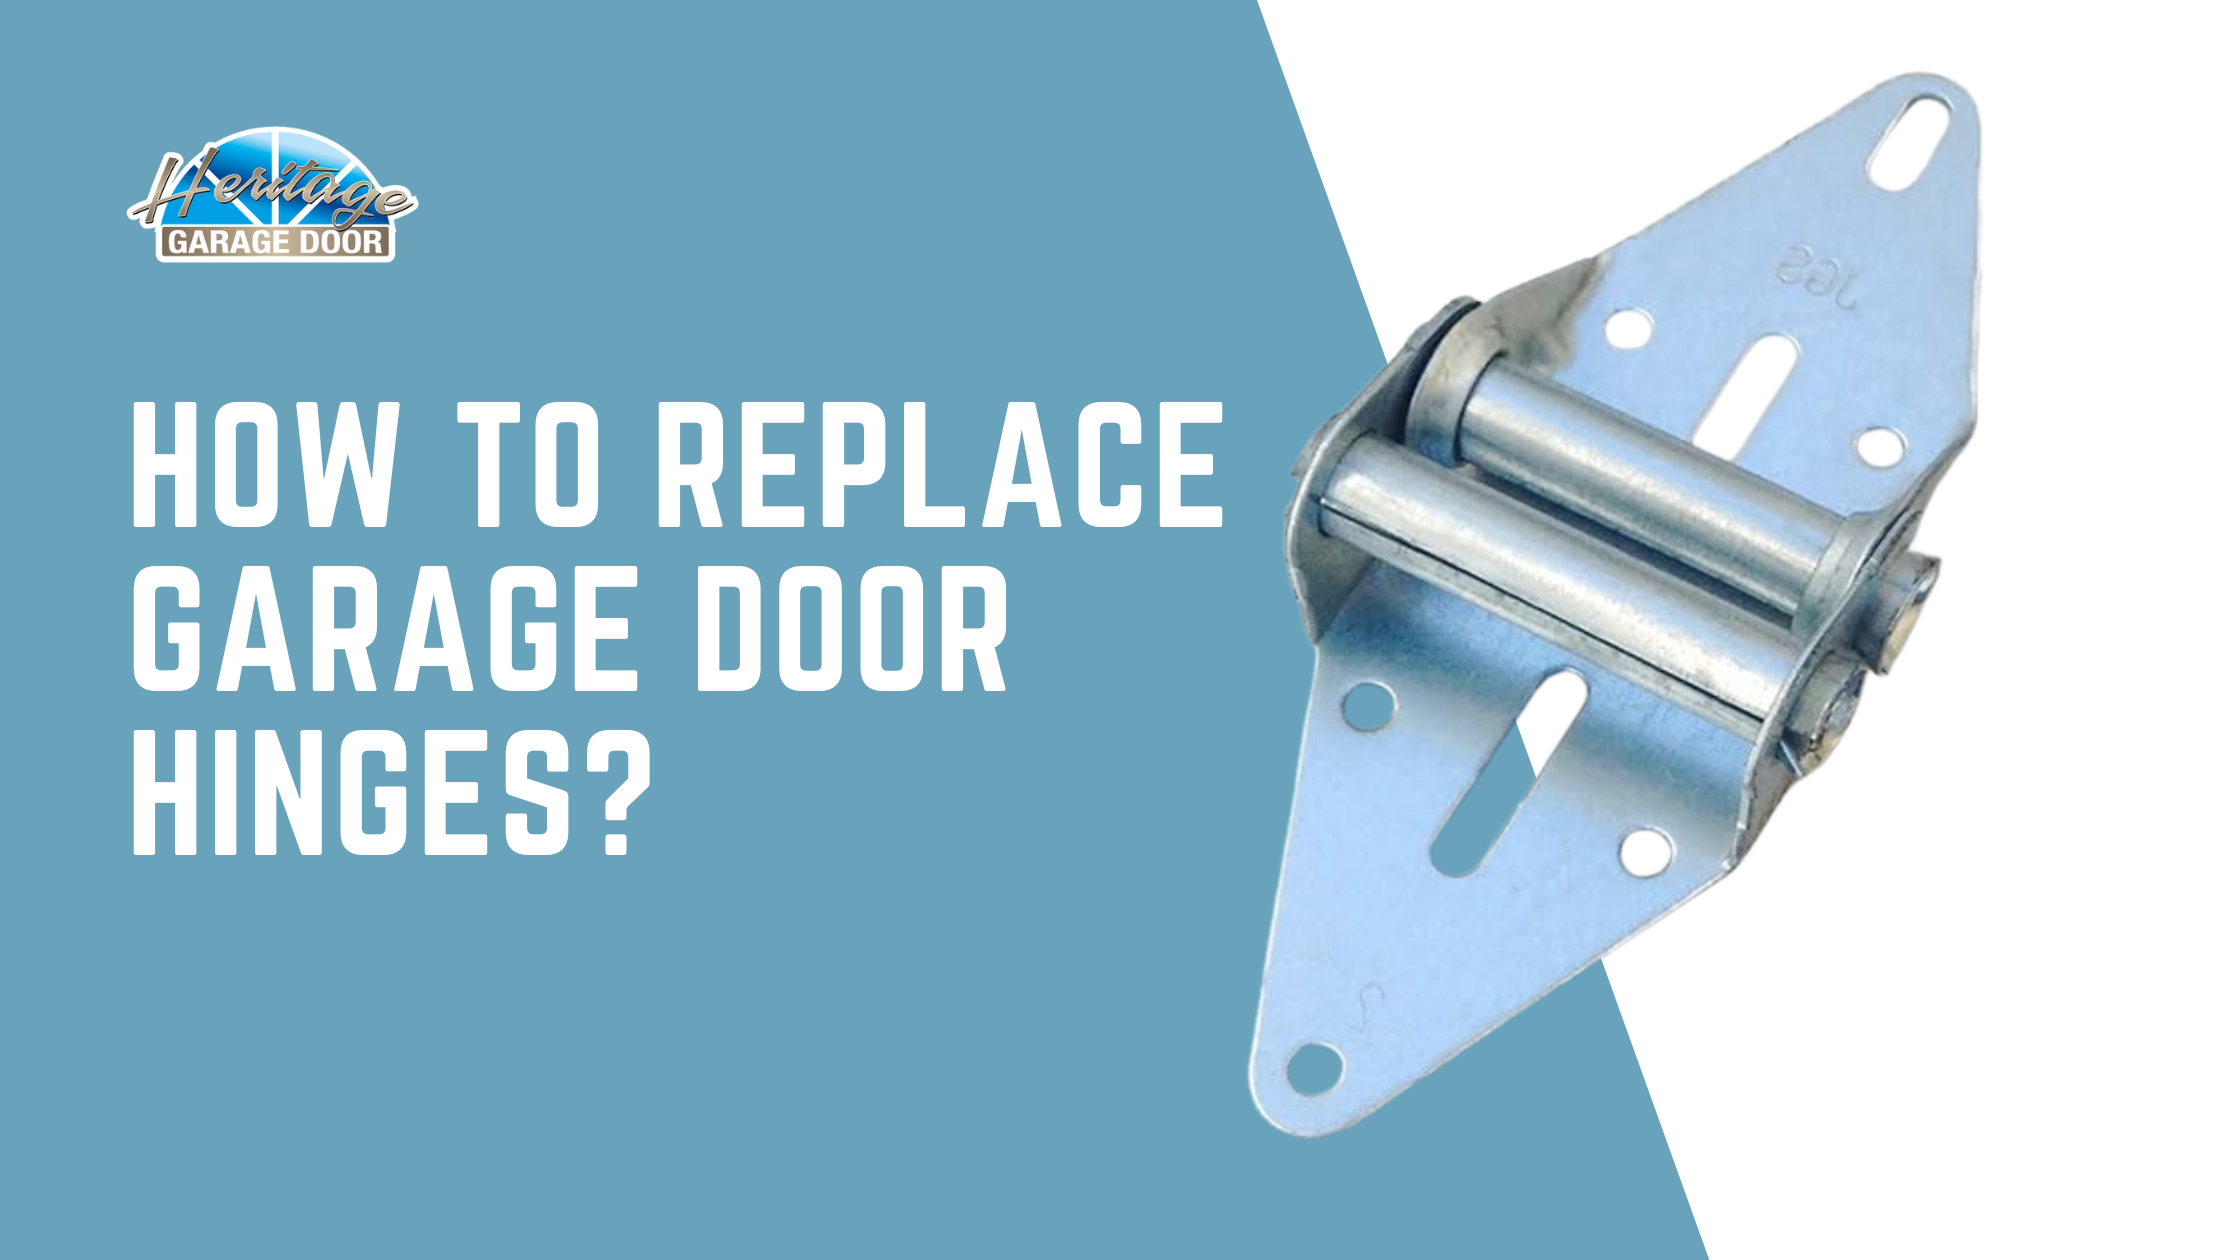
A garage door hinge is a critical component of a garage door system and is responsible for the smooth operation and stability of the door. Hinges are metal brackets that connect the various sections of the garage door, allowing it to bend and fold as it opens and closes. They are typically installed along the vertical edges of the door sections, with the type and size of the hinge varying depending on the door’s weight and design.
Garage door hinges are usually numbered, with lower numbers (e.g., #1) used closer to the bottom of the door and higher numbers (e.g., #3 or #4) used as you move up the door. These numbers correspond to the thickness of the hinge, with thicker hinges providing more support in areas where more stress is applied, such as the bottom of the door.
Hinges also hold the garage door rollers in place, allowing the door to move smoothly along the tracks. Properly functioning hinges are essential for the door’s alignment and smooth operation, and they should be regularly inspected for wear and tear. Damaged or broken hinges can lead to door malfunctions or safety hazards.
Importance of Garage Door Hinges

Garage door hinges are crucial for several reasons:
- Structural Integrity: Hinges connect the different panels of a sectional garage door, providing structural support. The door’s sections could separate without adequately functioning hinges, leading to misalignment or collapse.
- Smooth Operation: Hinges enable the garage door to bend and pivot as it opens and closes. They ensure that the door panels move in unison, allowing the door to transition smoothly from a vertical to a horizontal position and back again. A damaged hinge can cause the door to stick, bind, or operate unevenly.
- Safety: A garage door is a heavy, moving object. Damaged or worn-out hinges can make the door unstable, posing a safety risk to people and property. A malfunctioning hinge could cause the door to fall unexpectedly or operate uncontrolled, leading to accidents or injuries.
- Longevity of the Door: Well-maintained hinges reduce the strain on other garage door system components, such as the rollers and tracks. This can extend the door’s lifespan and parts, reducing the frequency and cost of repairs.
- Security: Properly functioning hinges contribute to the overall security of the garage door. A door with weak or broken hinges can be easier for intruders to tamper with or force open, compromising the security of your home or garage.
Regular inspection and maintenance of garage door hinges are essential to ensure they remain in good working condition, helping to maintain the door’s performance, safety, and security.
Garage Door Hinge Replacement
Replacing a garage door hinge is relatively straightforward, but it requires careful attention to safety and detail. Here’s a step-by-step guide to help you replace a garage door hinge:
Tools and Materials Needed:
- Replacement hinge(s)
- Wrench or socket set
- Screwdriver (flathead or Phillips, depending on the screws)
- C-clamps or locking pliers
- Lubricant (optional for maintenance)
- Safety gloves and eye protection
Step-by-Step Guide:
- Safety First:
- Disconnect the garage door opener: Unplug it or use the manual release to disengage it from the door. This prevents the door from moving while you work.
- Support the door: Secure the door by clamping it onto the track below the bottom roller using C-clamps or locking pliers. This prevents the door from dropping unexpectedly.
- Identify the Damaged Hinge:
- Determine which hinge(s) need to be replaced. Garage door hinges are typically numbered (e.g., #1, #2, #3), so get a matching replacement hinge.
- Remove the Old Hinge:
- Remove the rollers (if necessary): If the hinge holds a roller, carefully slide the roller out of the track.
- Unscrew the hinge: Use a wrench or socket set to remove the nuts or screws that hold the hinge in place. Hold the panel steady while doing this to prevent it from moving.
- Install the New Hinge:
- Position the new hinge: Align the new hinge with the holes on the garage door panel.
- Attach the hinge: Insert the screws or bolts through the hinge and into the door panel. Tighten them securely with your wrench or socket set.
- Reinsert the Roller:
- If you remove a roller, slide it back into the track and ensure it’s seated correctly in the new hinge.
- Repeat for Other Hinges (if necessary):
- Repeat the above steps for each hinge if you’re replacing multiple hinges.
- Test the Door:
- Remove the clamps: Carefully remove the C-clamps or locking pliers from the track.
- Reconnect the opener: Reconnect the garage door opener or reengage the manual release.
- Test the door: Open and close the garage door a few times to ensure it operates smoothly and that the hinges are functioning correctly.
- Lubricate (Optional):
- While you’re at it, consider lubricating the rollershinges,, and tracks with a garage door lubricant to ensure smooth operation and prolong the life of the components.
Tips:
- Use matching hinges: Always replace a hinge with the same type and number as the original to ensure proper alignment and function.
- Work carefully: Garage doors are heavy and under tension. Handle the panels and springs with care to avoid injury.
Following these steps, you can successfully replace a garage door hinge and ensure your door operates safely and smoothly.
Conclusion:
Garage door hinge replacement is a manageable task that can significantly improve the functionality and safety of your garage door. Following the steps outlined above and taking necessary safety precautions ensure your door operates smoothly and reliably. Regular maintenance, including hinge inspection and replacement, is critical to extending the lifespan of your garage door and preventing potential issues down the line. Whether you’re a DIY enthusiast or just looking to save on repair costs, understanding how to replace a garage door hinge is a valuable skill that helps keep your home secure and your door in top working condition.


